
"Lace - the invention of a goddess and the occupation of a Queen."
I've been having a love affair with lace of late, and when I stopped by the $2 shop the other day I saw some beautiful lace strips in the DIY section. So naturally, my first thought was 'I NEED to buy this', then once my reasoning caught up with my desire, I realised I needed to do something with it. So, I present to you my,
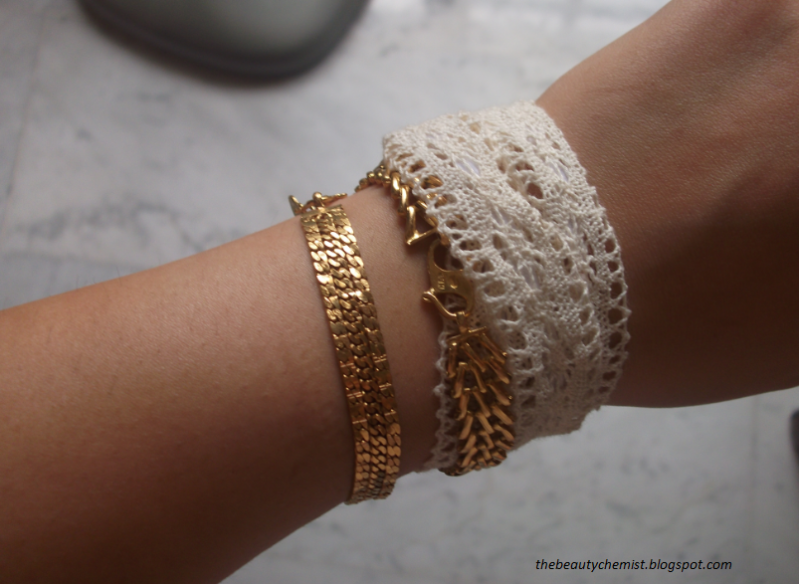
DIY: Lace Bracelet.
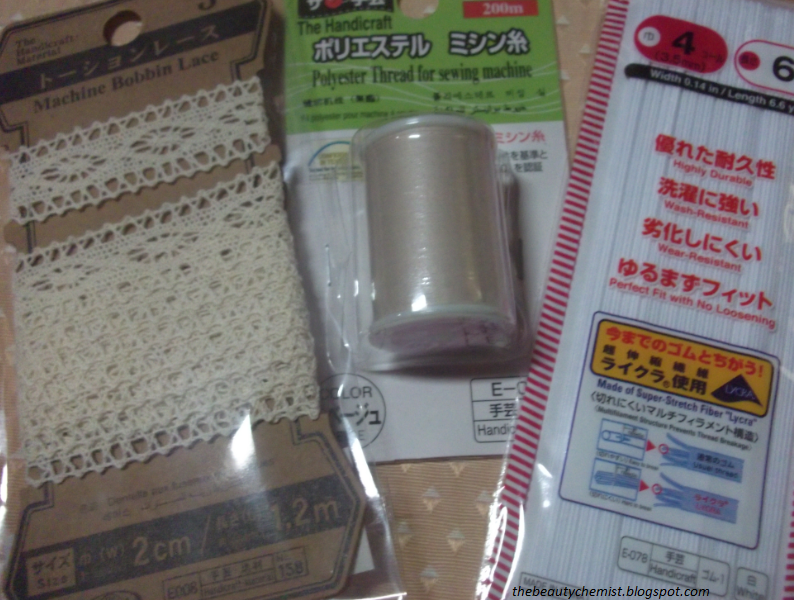
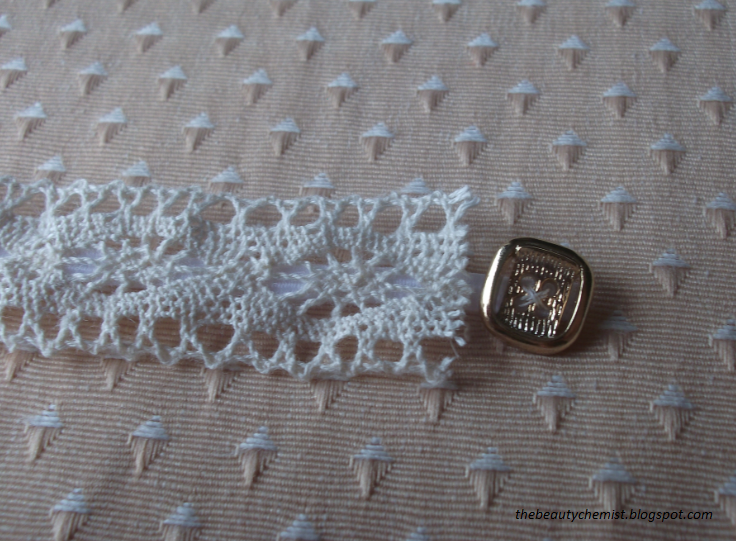
Materials: Elastic, Lace, Thread, A Button
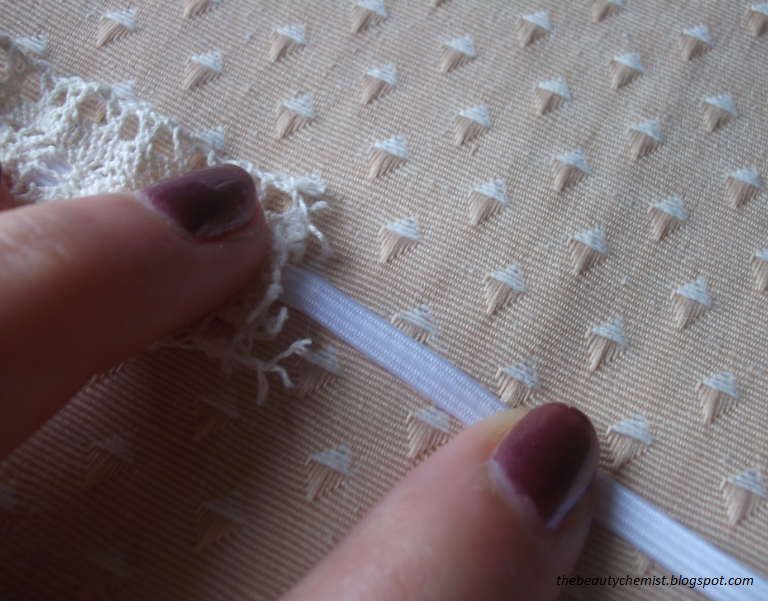
Step 1
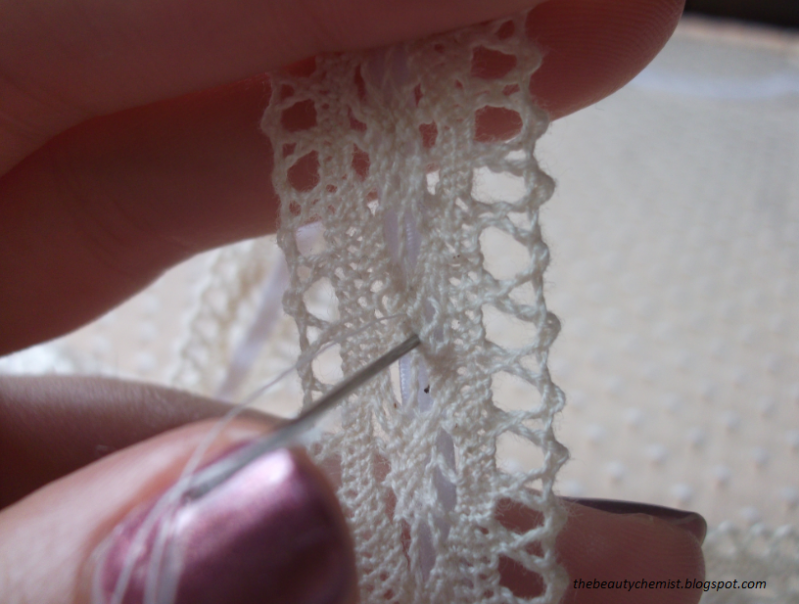
Lay the lace and the elastic together, and tie a knot onto the end of the thread you are using. Make sure you leave a 2-3 inch length of bare elastic at the beginning. Then, from the underside of the bracelet start by threading the needle through the elastic first, and then through the lace.
nb. one small knot in the thread will suffice as it would take a large force to pull this through the elastic.
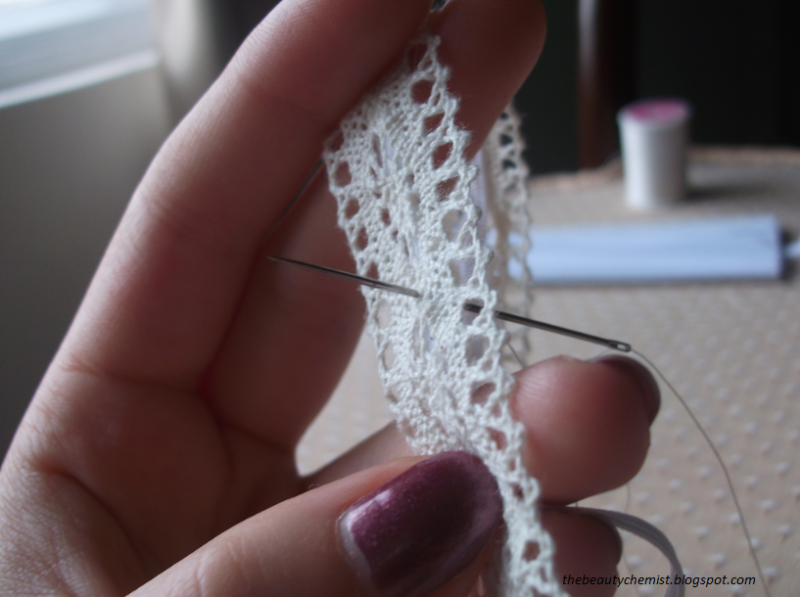
Step 2
Go back on yourself and thread through the lace and then through the elastic.
Step 3
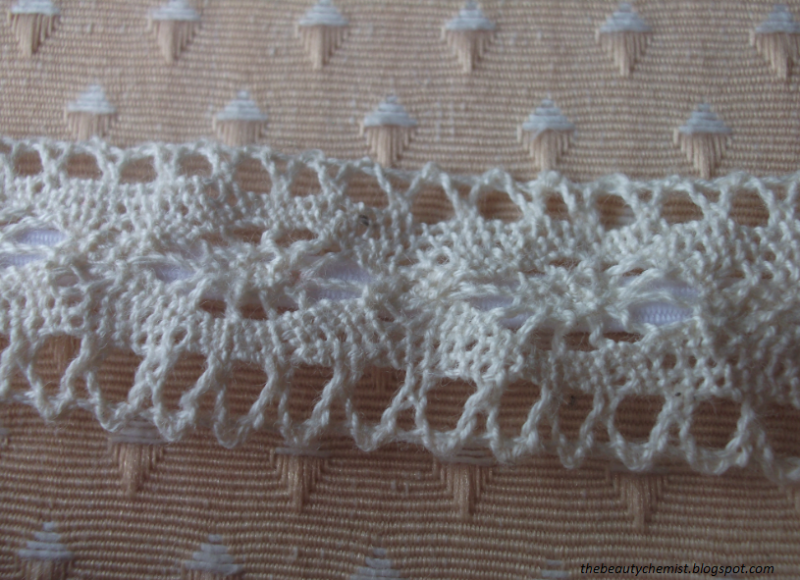
Continue to weave over and under to secure the lace and elastic together.
nb. I used lace that had concentrated bits of lace where my thread-work would be hidden.

Step 4
Once you reach the length you want make sure the thread is secure and will not unravel by making another tight knot as close to the elastic as possible. You can cut the lace where it ends, and leave an extra 1 centimetre to sew the button to.
Step 5
Sew on the button to the 1 centimetre of bare elastic.
Step 6
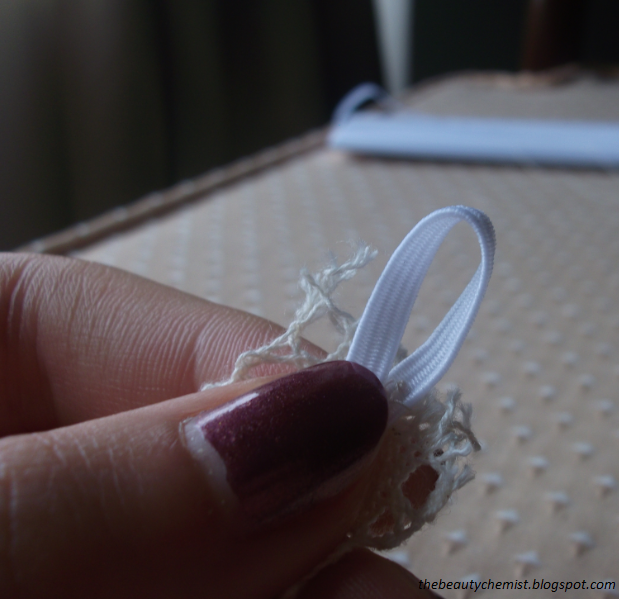
On the other side where there is 2 inches of bare elastic, fold it in such a way that when the button it attached, it will still lay straight (as done in the above photo)
nb. To stop the lace from fraying once cut, you can dip the ends in a little bit of PVC glue, so that they'll stay together and your bracelet will last for a longer time.
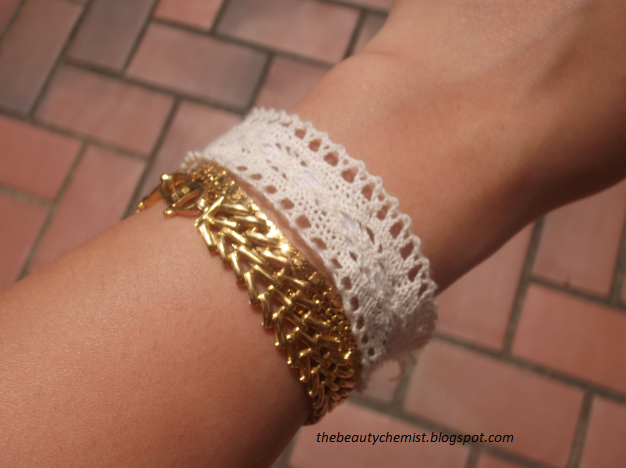
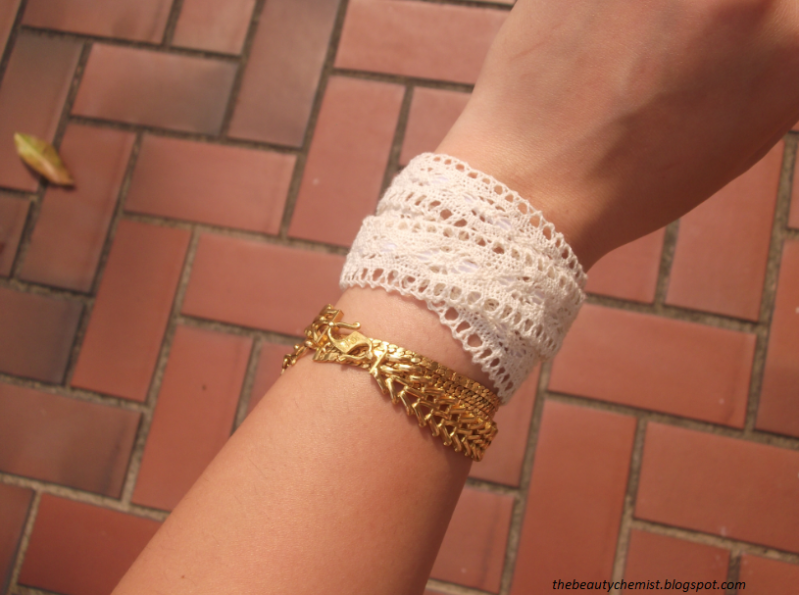
You can make the bracelet go once around, or make it into a wrap bracelet! I personally prefer the single one as once there are too many wraps it starts to look a little like a bandage.
No comments:
Post a Comment