
So instead of creating a bracelet to last - which is what I've tried to do in the past - I'm branding this one 'The Disposable'. For $2 SGD/ £1 I received 6m of ribbon, and each bracelet is around 35cm in length. That means for $2 I can make 17 disposable bracelets!
DIY RIBBON BRACELET
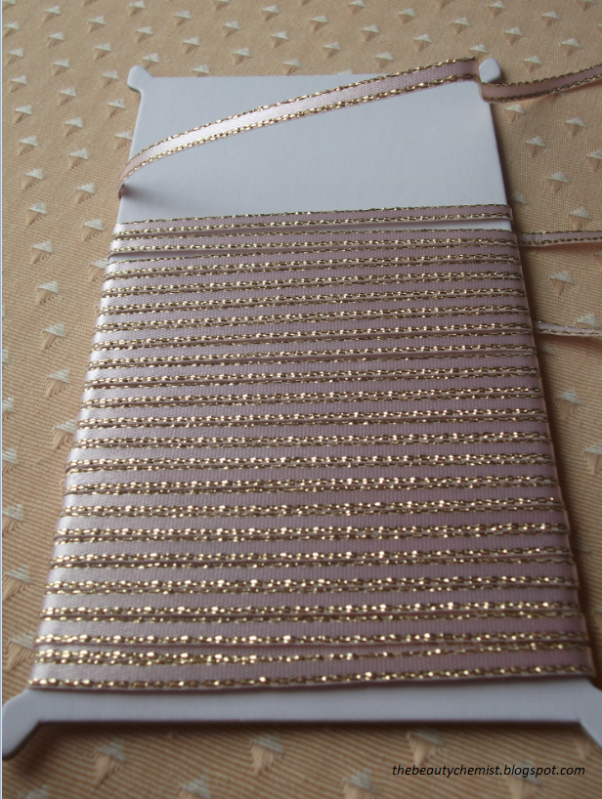
Materials: Ribbon
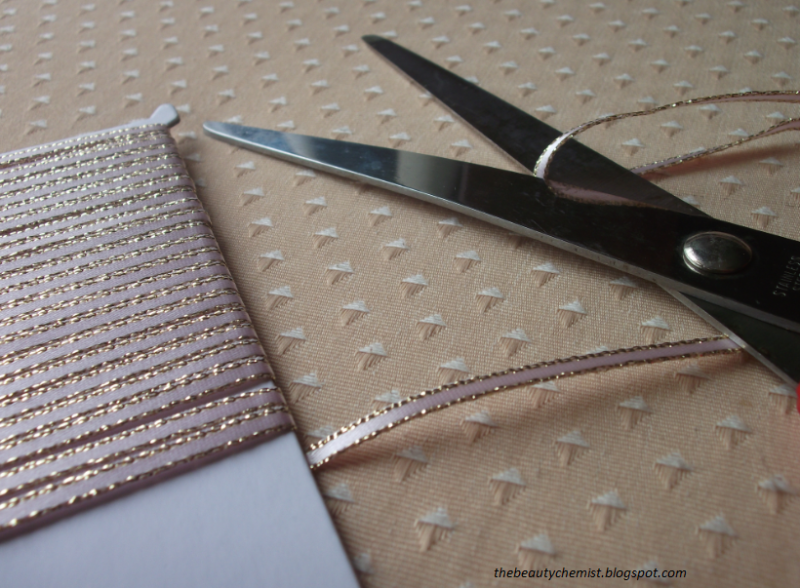
Cut a piece of ribbon to size. The piece I used was about 33cm in length - evidently it depends on your wrist size and how tight you want the bracelet. My wrist is 14.5cm around.
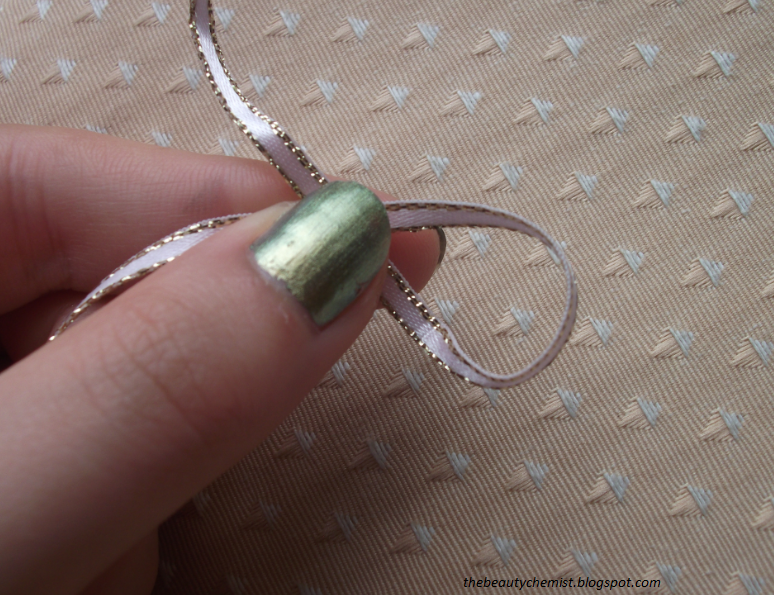
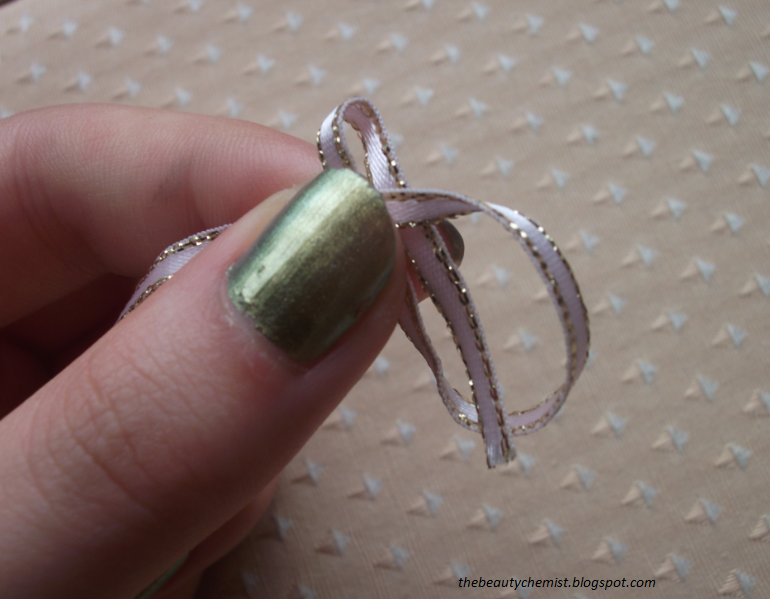
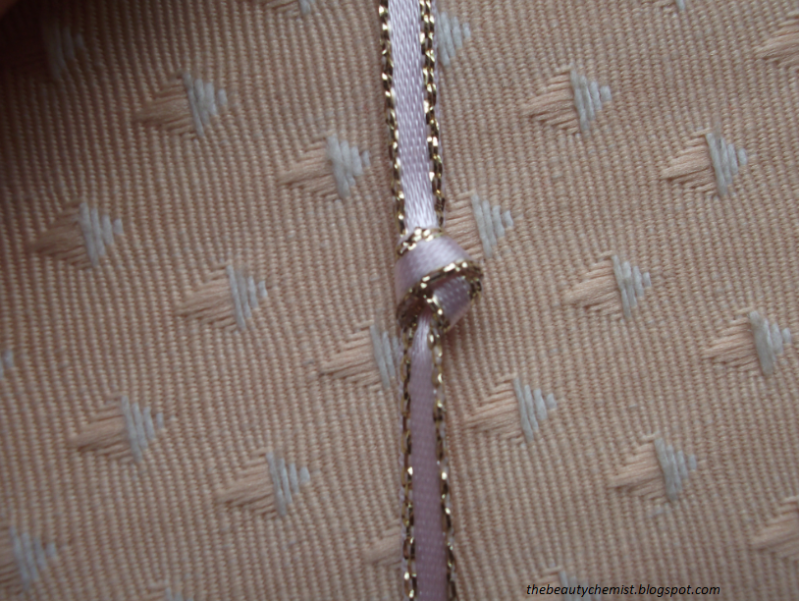
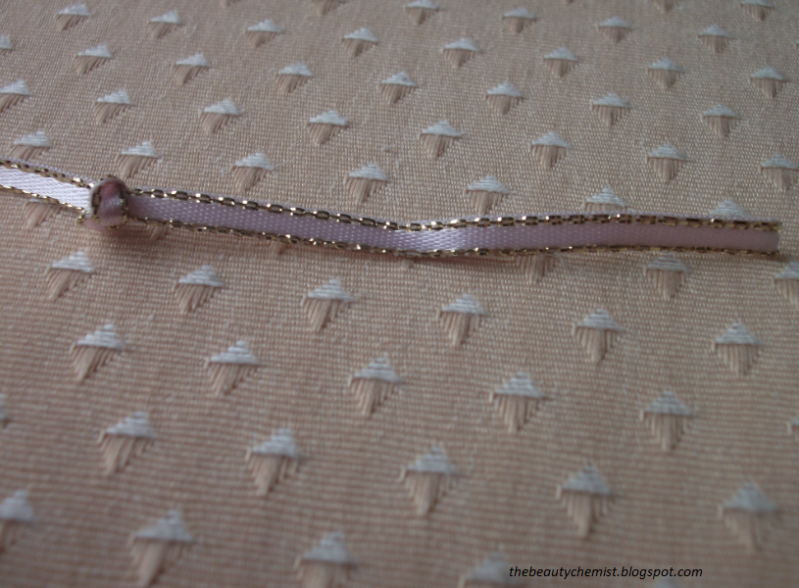
Tie a knot leaving a 2-3 inches at the end. I thought I'd include pictures on tying a knot....just in case - always be prepared!
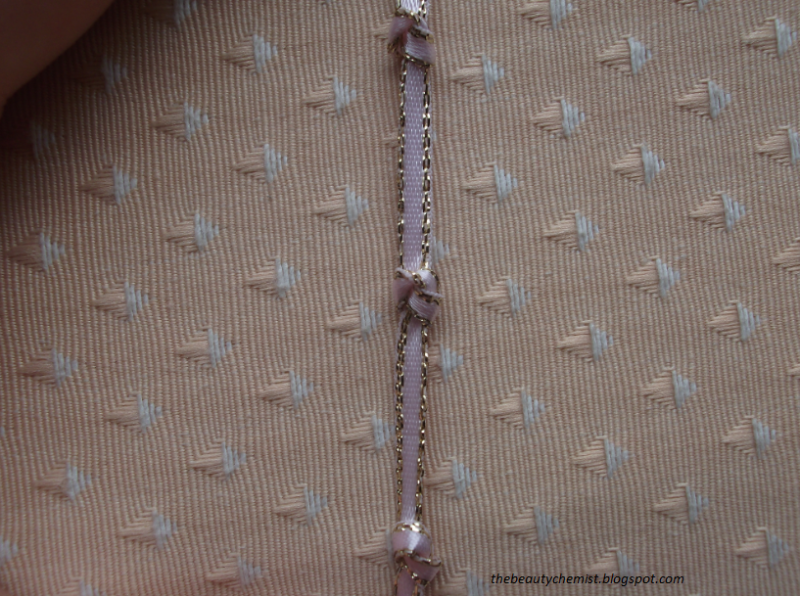
I personally tied 6 knots with spaces of around an inch in between. Obviously here you can use your own discretion on how close you want the knots to be.
nb.Of course, if the physical action of tying 6 knots in your ribbon proves too much for you, you can just wear it as is.
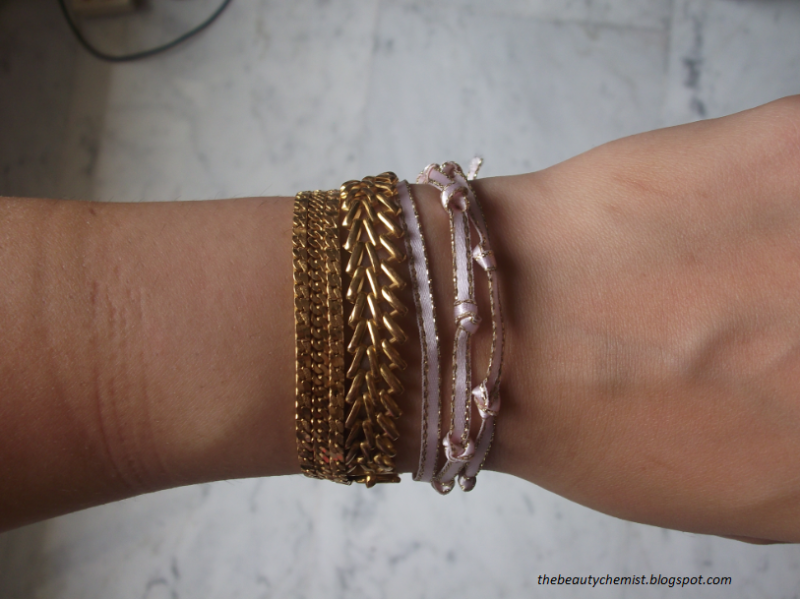
I paired two of the knotted ribbon bracelet with one plain ribbon bracelet.
These are lots of fun since they come is any colour under the sun with varying textures and patterns and they're incredibly easy and inexpensive to make. Then best of all, they are even suitable for people that share my skill level in arts and crafts - a low, low, LOW skill level. Enjoy!
This is a really cute idea! x
ReplyDelete