Showing posts with label DIY. Show all posts

Thursday, 25 August 2011

'The Disposable' Bracelet

Being the creature of habit that I am I made another trip to the $2 store for some DIY supplies. I say 'another trip', like it was only one trip...but we can talk more on that later. Since my lace bracelet turned out better than expected I thought I'd try my luck again and went straight for some ribbon. It turns out much like lace, ribbon frays. Only it's a little weaker, and when it frays it FRAYS. Although, dipping the end in some wax or pvc glue certainly helps matters.

So instead of creating a bracelet to last - which is what I've tried to do in the past - I'm branding this one 'The Disposable'. For $2 SGD/ £1 I received 6m of ribbon, and each bracelet is around 35cm in length. That means for $2 I can make 17 disposable bracelets!

DIY RIBBON BRACELET
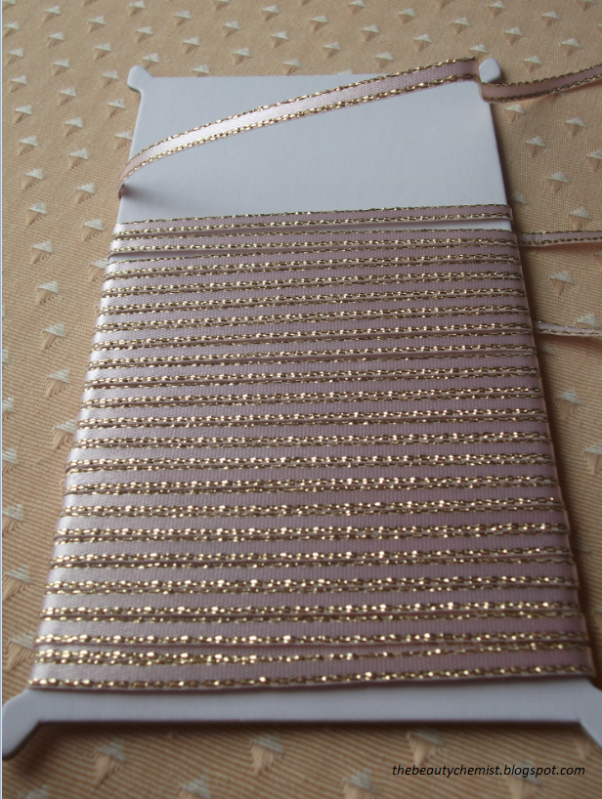
Materials: Ribbon
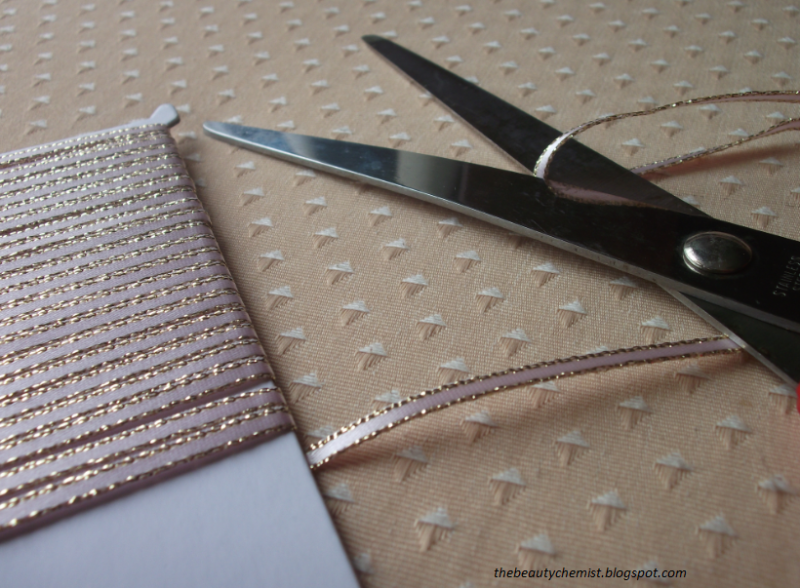

Step 1 
Cut a piece of ribbon to size. The piece I used was about 33cm in length - evidently it depends on your wrist size and how tight you want the bracelet. My wrist is 14.5cm around.
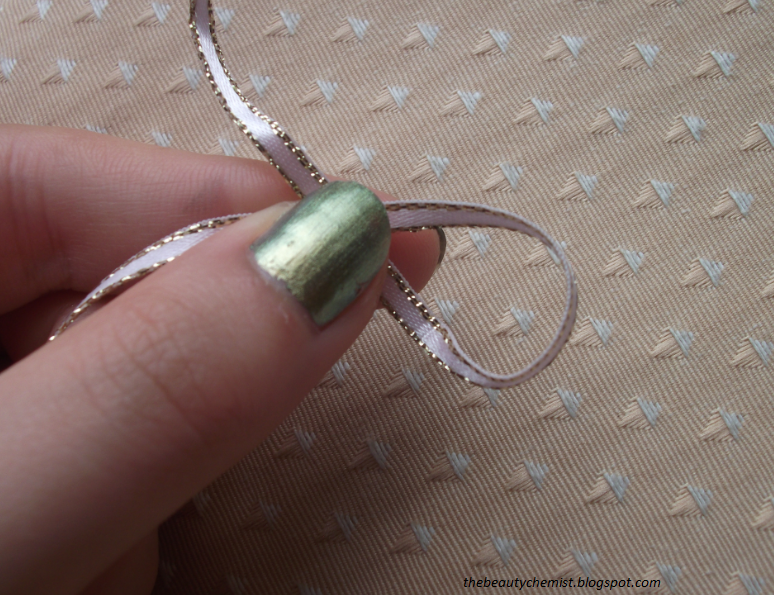
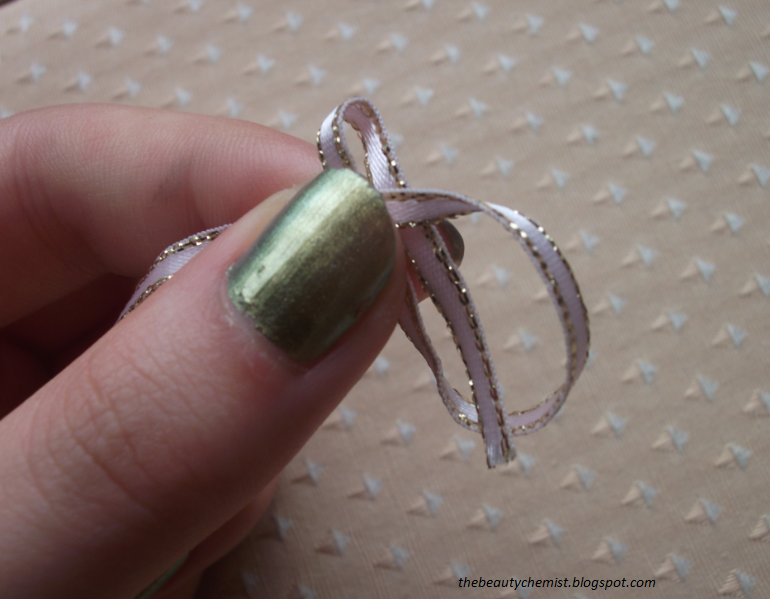
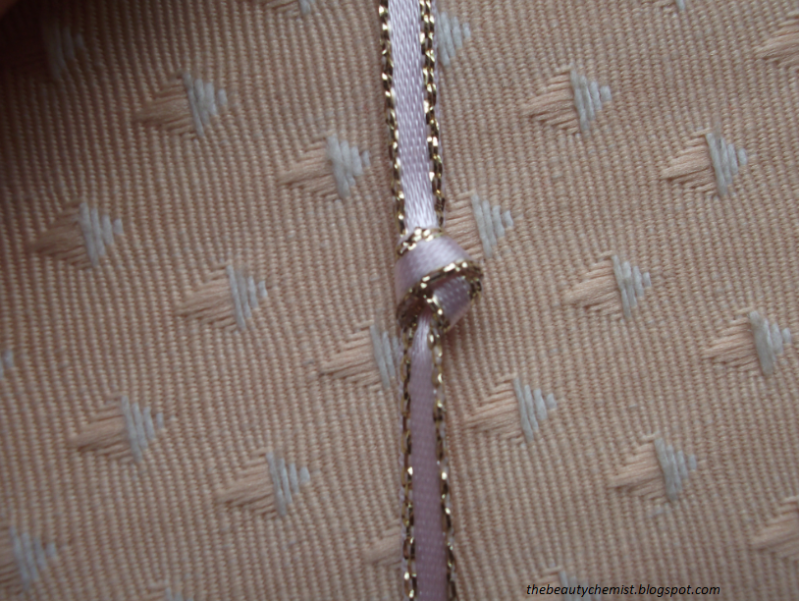
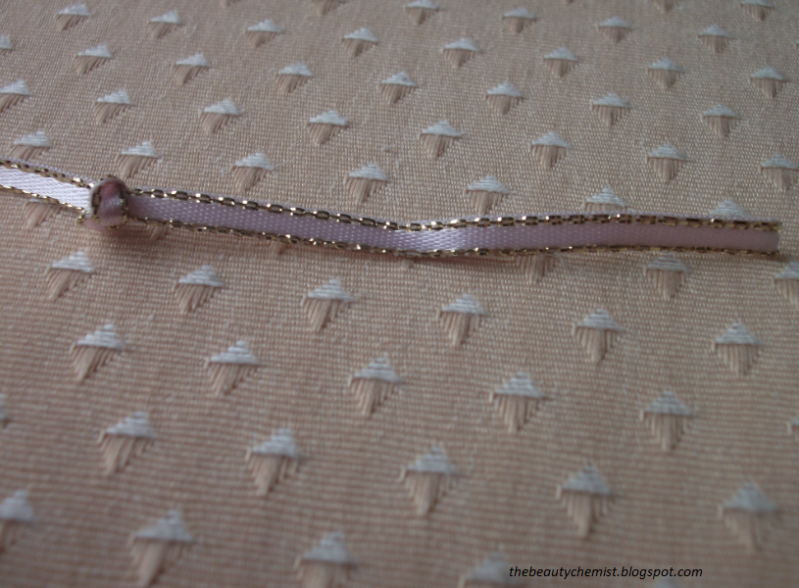

Step 2 
Tie a knot leaving a 2-3 inches at the end. I thought I'd include pictures on tying a knot....just in case - always be prepared!
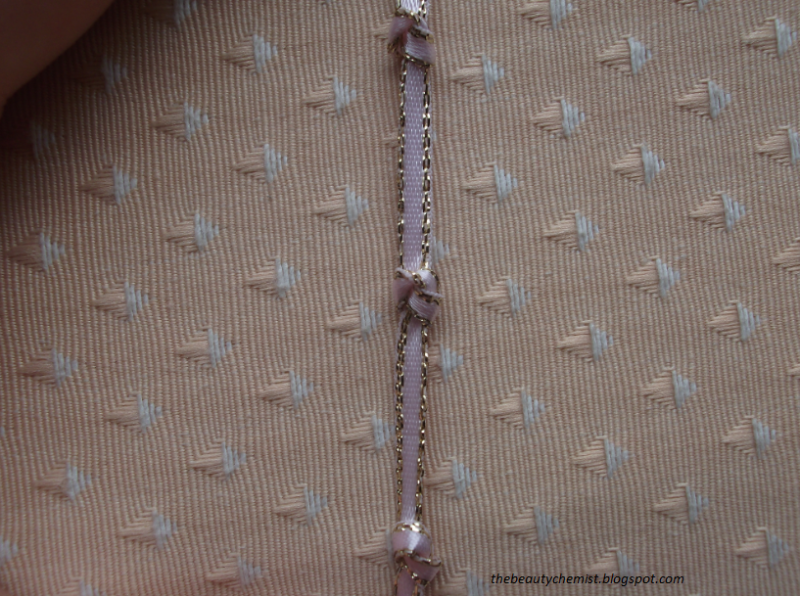

Step 3
I personally tied 6 knots with spaces of around an inch in between. Obviously here you can use your own discretion on how close you want the knots to be.
nb.Of course, if the physical action of tying 6 knots in your ribbon proves too much for you, you can just wear it as is. 
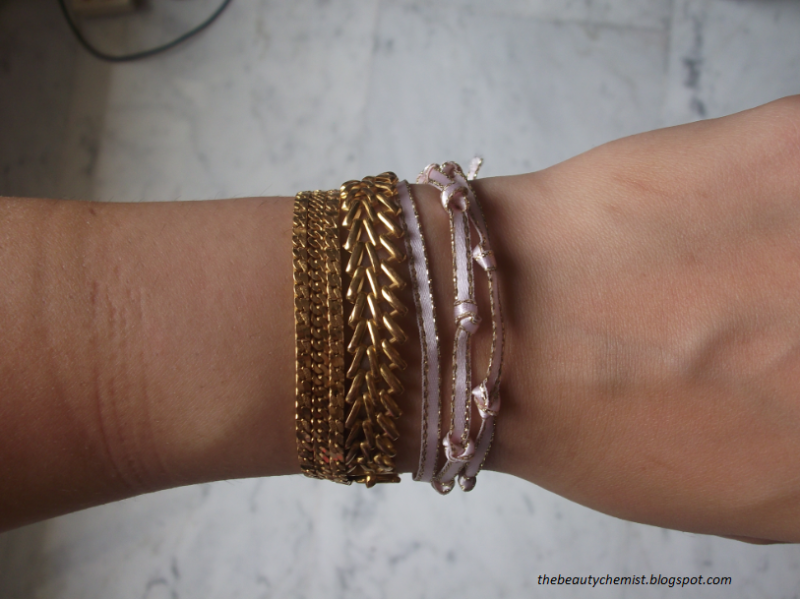


I paired two of the knotted ribbon bracelet with one plain ribbon bracelet.
These are lots of fun since they come is any colour under the sun with varying textures and patterns and they're incredibly easy and inexpensive to make. Then best of all, they are even suitable for people that share my skill level in arts and crafts - a low, low, LOW skill level. Enjoy! 

Wednesday, 24 August 2011

Occupation of a Queen

"Lace - the invention of a goddess and the occupation of a Queen."


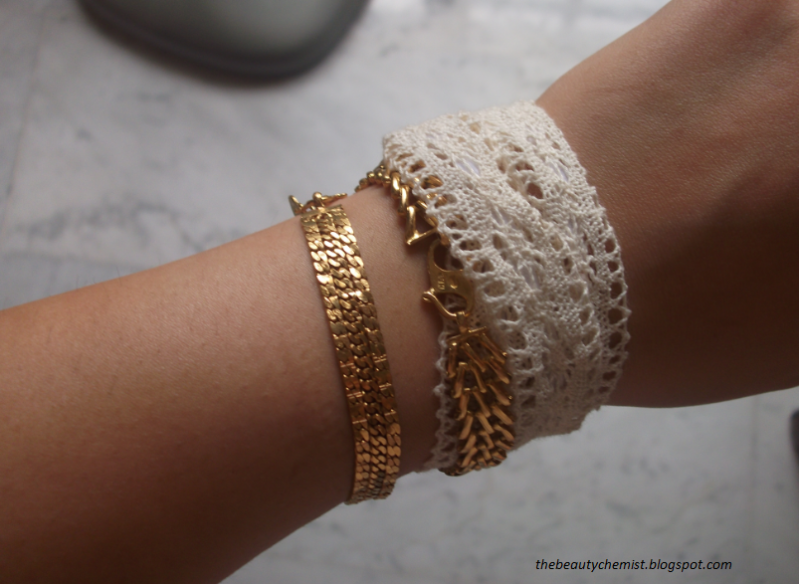
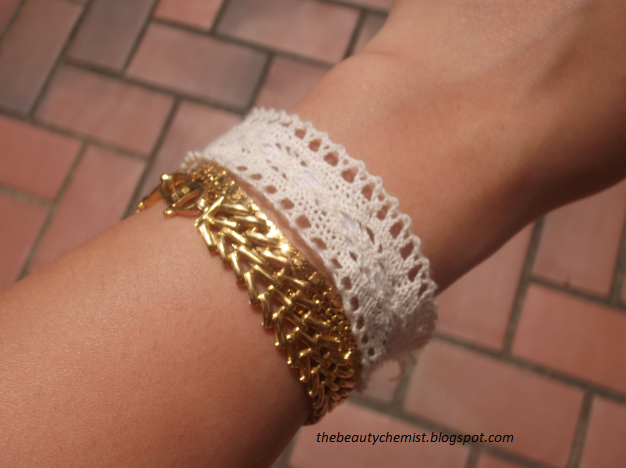
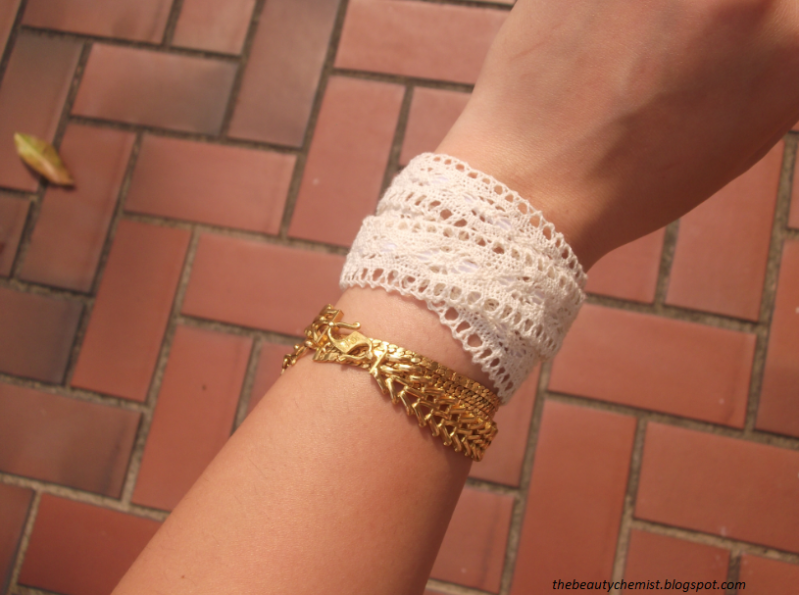
I've been having a love affair with lace of late, and when I stopped by the $2 shop the other day I saw some beautiful lace strips in the DIY section. So naturally, my first thought was 'I NEED to buy this', then once my reasoning caught up with my desire, I realised I needed to do something with it. So, I present to you my,
DIY: Lace Bracelet.

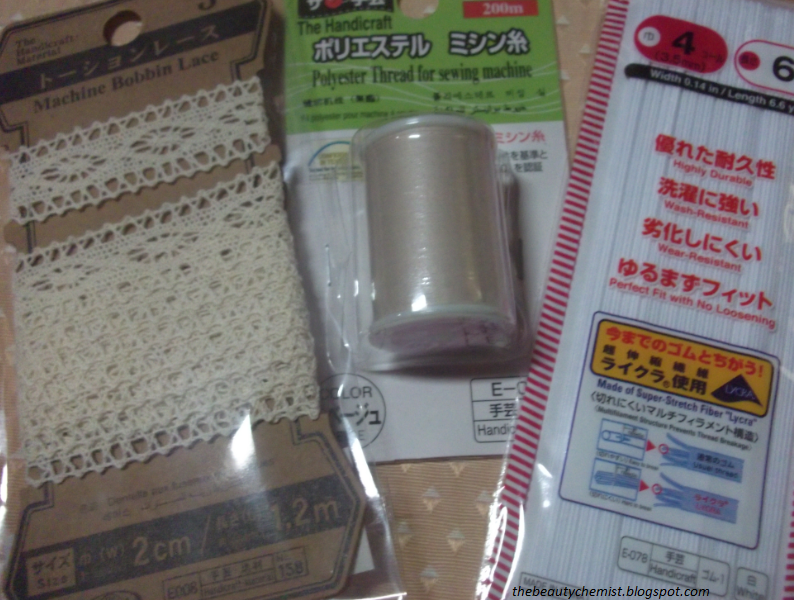
Materials: Elastic, Lace, Thread, A Button


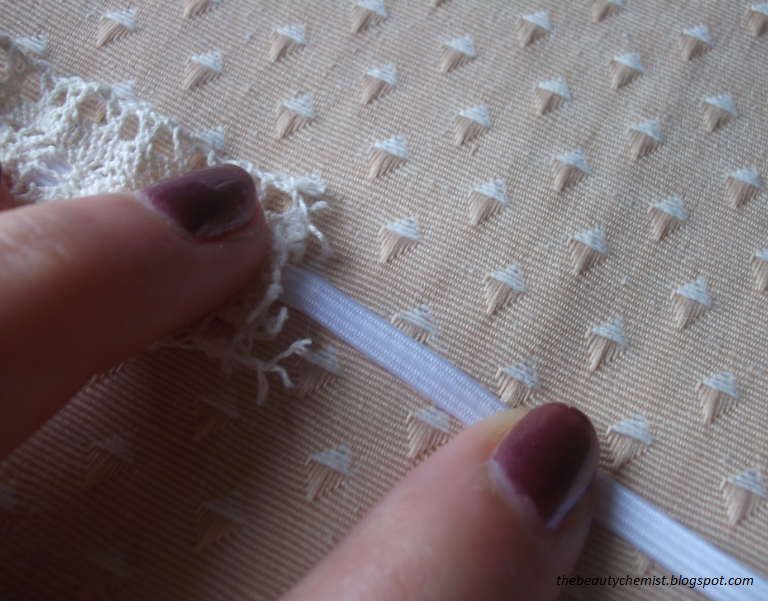
Step 1
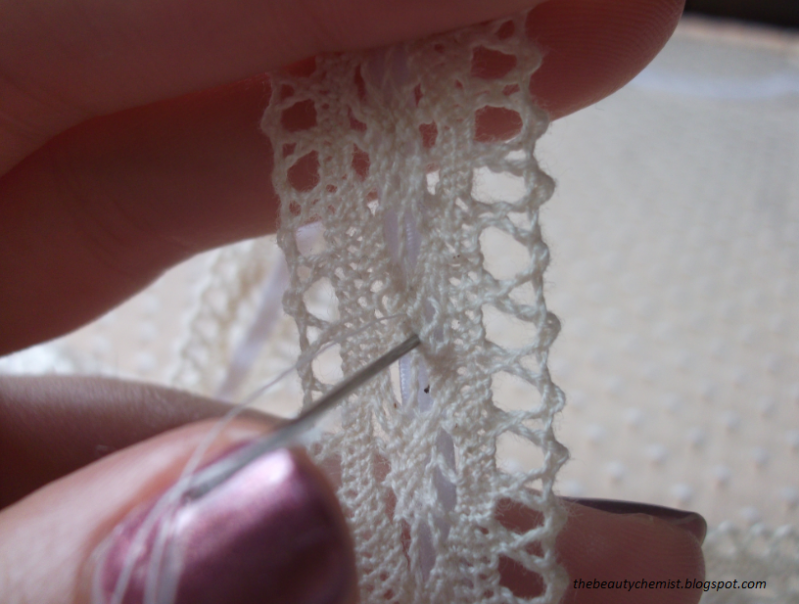
Lay the lace and the elastic together, and tie a knot onto the end of the thread you are using. Make sure you leave a 2-3 inch length of bare elastic at the beginning. Then, from the underside of the bracelet start by threading the needle through the elastic first, and then through the lace.
nb. one small knot in the thread will suffice as it would take a large force to pull this through the elastic.

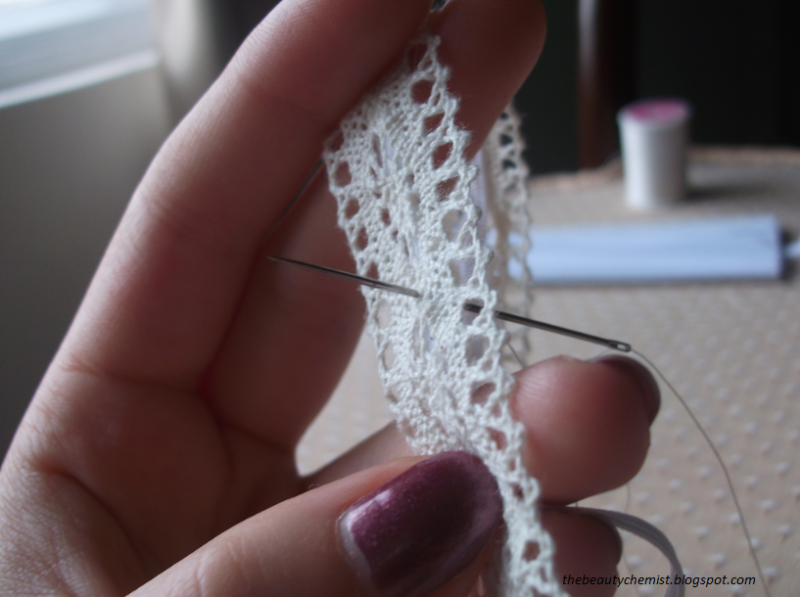
Step 2
Go back on yourself and thread through the lace and then through the elastic.

Step 3
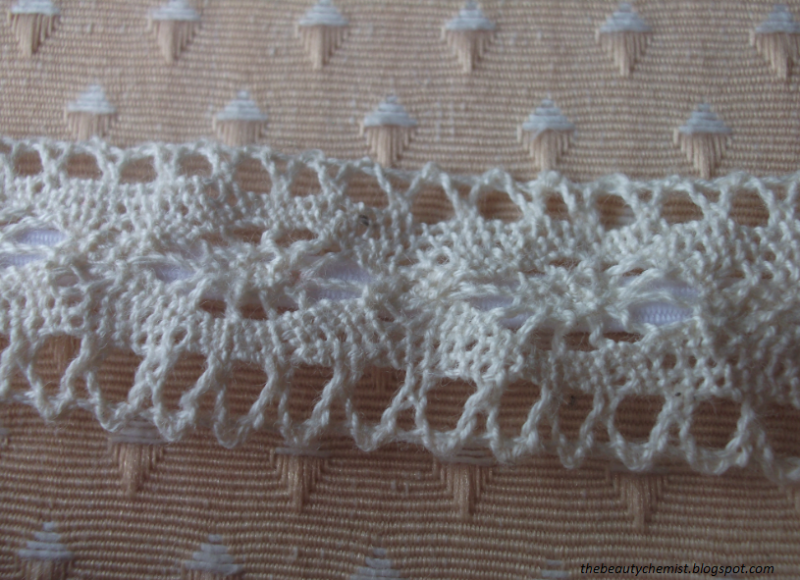
Continue to weave over and under to secure the lace and elastic together.
nb. I used lace that had concentrated bits of lace where my thread-work would be hidden.

Step 4
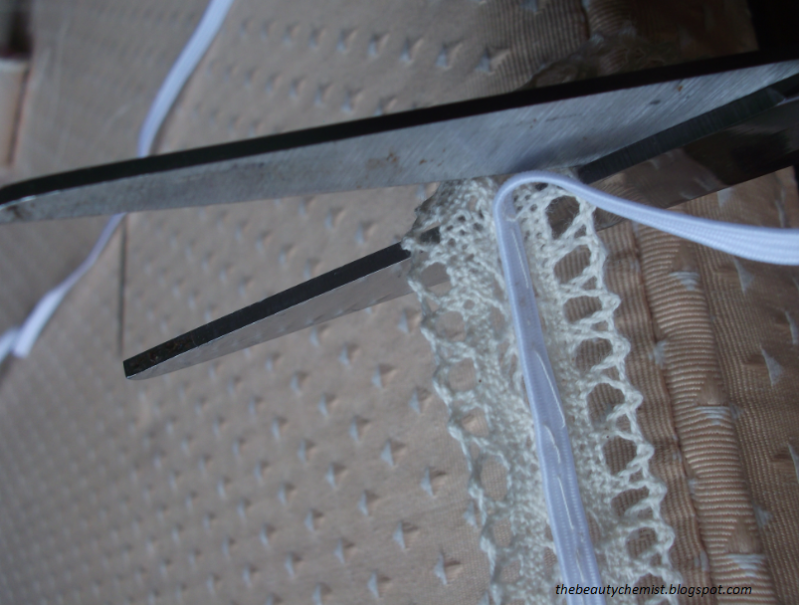
Once you reach the length you want make sure the thread is secure and will not unravel by making another tight knot as close to the elastic as possible. You can cut the lace where it ends, and leave an extra 1 centimetre to sew the button to.

Step 5
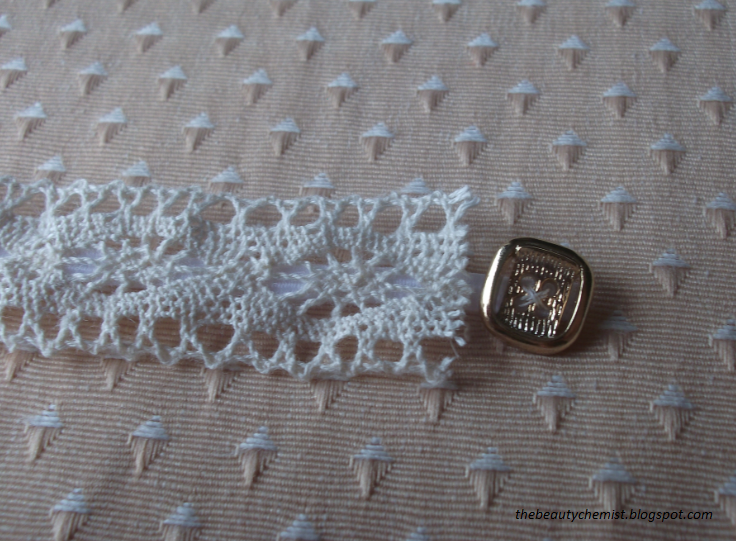
Sew on the button to the 1 centimetre of bare elastic.

Step 6
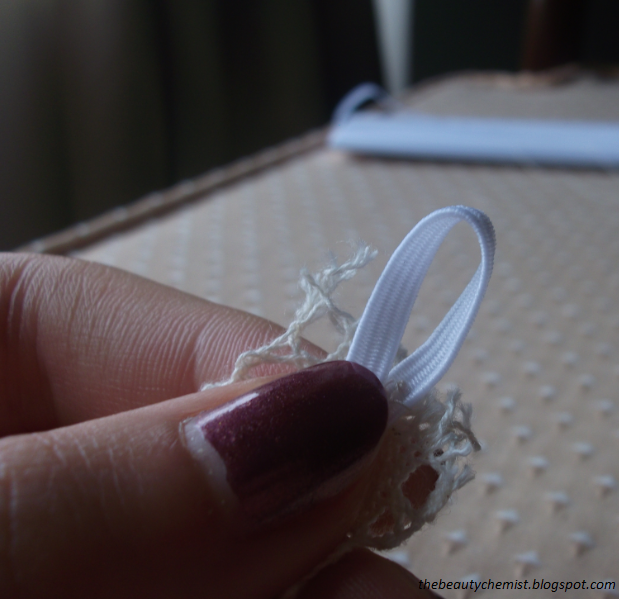
On the other side where there is 2 inches of bare elastic, fold it in such a way that when the button it attached, it will still lay straight (as done in the above photo)

nb. To stop the lace from fraying once cut, you can dip the ends in a little bit of PVC glue, so that they'll stay together and your bracelet will last for a longer time.


You can make the bracelet go once around, or make it into a wrap bracelet! I personally prefer the single one as once there are too many wraps it starts to look a little like a bandage.